
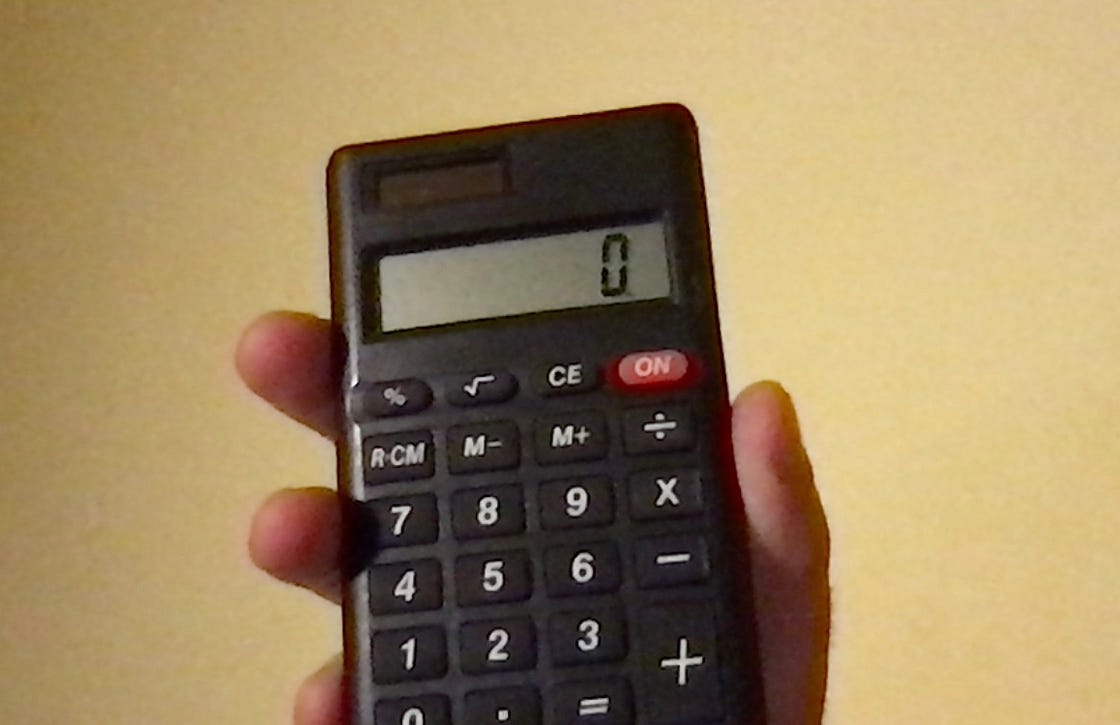
32: The Calculator

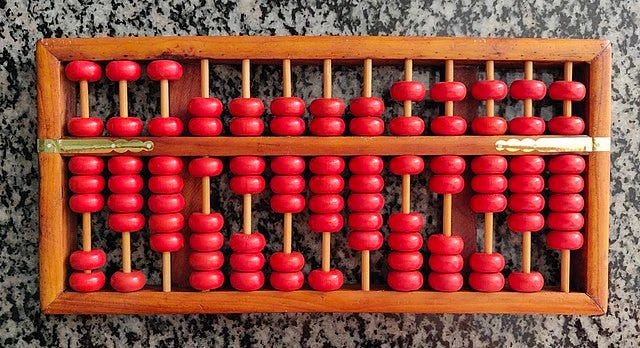
Calculators have a long, long history starting way back in ancient Mesopotamia, the first agricultural society in the history of humanity. Back then, a tool known as an abacus allowed ancient peoples to do basic calculations with relatively little mental strain, such as calculating the amount of food produced per acre of land. They most certainly weren’t calculators, but they could compute.
Consider one of the few modern stories on abacuses. Richard Feynman (1918–1988), a celebrated physicist, was sitting in a bar in Brazil when someone challenged him to a duel of numbers, him using his abacus, Feynman using his mind. Once the challenge began, the visitor beat Feynman at simple addition and subtraction and tied him when it came to multiplication. In other words, if one knows how to use an abacus, one can perform ultra-fast arithmetic without knowing much about math (Feynman, however, beat the man in division).
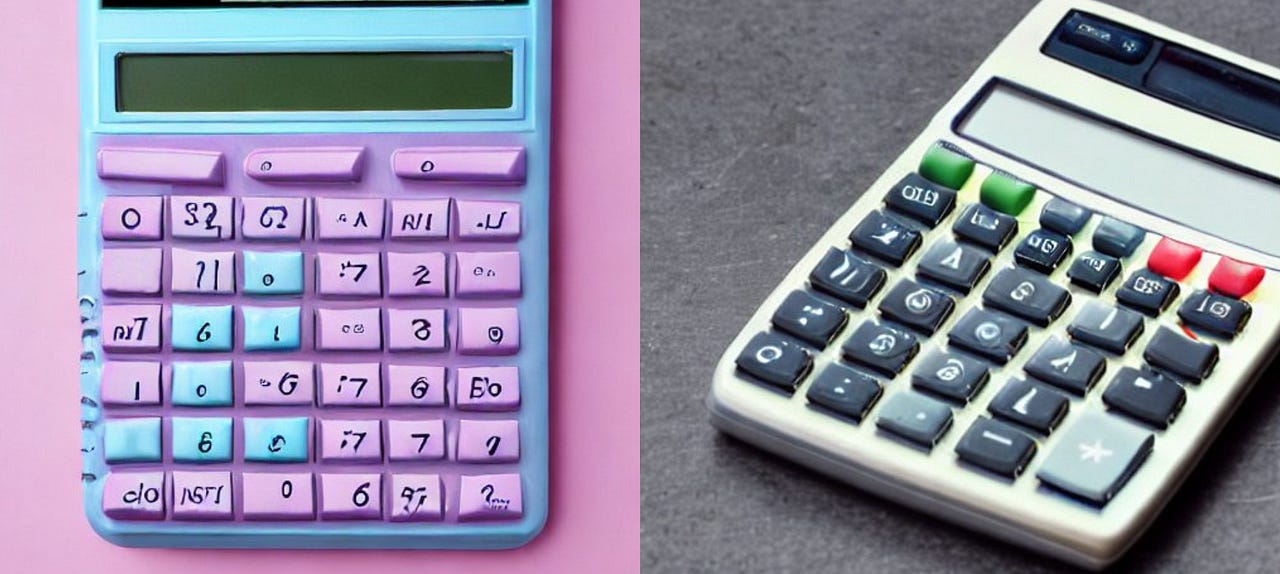
While a great tool, the abacus cannot beat electronic calculators, nor can Feynman’s fast and ingenious computation methods. That’s because handheld calculators compute answers at a fraction of the speed of light by using many 20th-century technologies, such as our arithmetic circuits. Many technologies required to make a calculator a reality emerged in the 19–20th centuries: Wires, electricity, batteries, solar power, digital gates, and even crystallography all play small parts in designing the modern handheld calculator.
In this post, let’s try and put everything we’ve learned so far together to create computations in binary format and display the input in a human-readable format. Furthermore, let’s also give our machine the possibility to perform multiple operations (+, *, …) rather than just one.
We split the design into three smaller steps: Energy Source, Digital Logic, and Display.
Energy Source
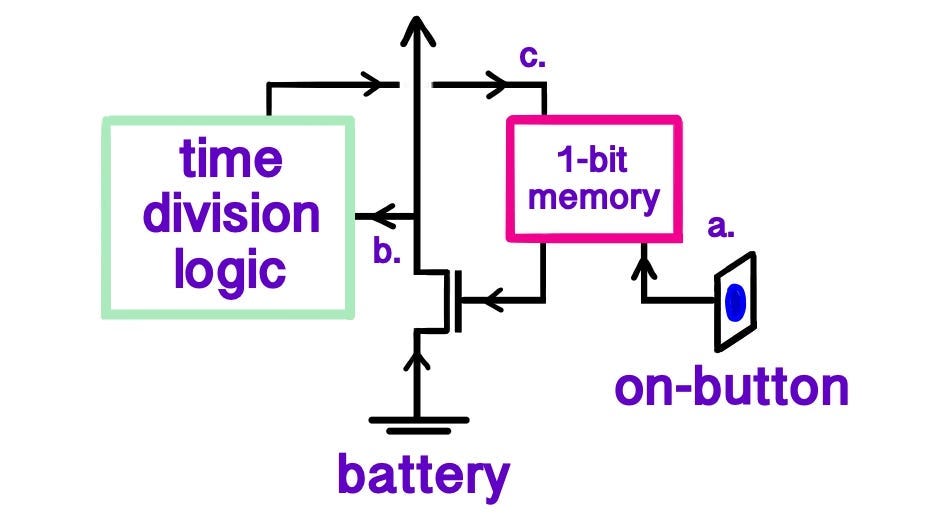
Nearly every calculator is powered by a small replaceable battery, which releases current when the “on” button has been pressed. This action flips a switch in the circuit that allows for “permanent current release” so that the calculator can accept inputs from its user. This also starts a timer, likely made of quartz, which will cause the calculator to be disconnected from the power source if no button has been pressed after a certain amount of time. Every button press resets the timer, so the machine never turns off when you least expect it.
To make sure that the battery does not need to be replaced over time, small solar panels were installed on the surface of the calculator to recharge the battery with direct current via a battery charging circuit. They don’t generate much electricity, given their small area. But a calculator also doesn’t use too much energy either, nor can the battery save much in the first place.
Digital Logic
As a reminder (or instruction manual if you’ve never used one), a basic calculator has a simple 4 step procedure to generate computations:
Type in a number
Press a binary operation button (“+”, “-”, “/”, “*”)
Type in another number
Type in another operation, generally the “=” one
In step 1, you type in a number digit, followed by more number digits or the operation button in step 2. When typing a number, each button press will save the number in RAM (made of SR-latches), and the click of the binary operation will “close” the switch that allows modification of this number. At the same time, this action prepares to shift the stored values into a new RAM space to save the next incoming digit. Therefore, when a new number is pressed, that slot of RAM fills up with the binary representation of the number, prepares to shift it, and when a new digit is typed in, it shifts the contents to the left and saves the new digit in the newly freed up RAM.

When the desired number of digits has been typed in, we continue with step 2, where we press an operation button. This action causes two things to happen:
a) it copies the data stored in RAM, known as the accumulator, to another register, which we can call B. This way, we can perform step 1) with a new digit, whereby the calculator accepts a bunch of digits in the same way and concatenates them to represent a second number stored in B.
b) It activates a decoder that determines which circuit the incoming data should be passed through (with perhaps another line of data) and sets a bit that represents whether the circuit is ready for the operations to take place. This way, the next time an operation button is pressed, it performs the corresponding operation on the two registers and outputs a new number.
Now, when the second number is typed in, the data in the accumulator is wiped, and the typing in of the number proceeds as before, as in step 1. Alternatively, the same operation can be done by typing in the value into the B register instead of the accumulator, which seems more reasonable. But we will see that this is a little more complicated when trying to display the numbers on the screen.
Once a second operation button is pressed (step 4), the first operation “executes”. That is, the two numbers in registers A and B are redirected into the ALU. Seeing that the decoder has saved the operation needing performing and the “ready” bit is set to “1”, the ALU computes. No matter what operation is typed in, the result is copied into the A register, overwriting the contents of that register. If a non” =” operation is typed in, the calculator additionally copies the resulting value from register A into register B. With this, the process repeats, starting with step 3 and the calculator functions.
And that’s it. There is still the “C” button, which resets everything back to the initial state, allowing a user to clear all registers with a single click and start from scratch.
This concludes the basic calculator for the electrical engineer. Note how I have used many “if” and “else” clauses that are difficult to read. Diagrams would help in this case, which is partially why digital circuits are represented as a visual circuit: it conveys far more information than such difficult-to-decipher text.
Regardless, once the circuit exists, it can compute any simple calculation. Right now, however, the result is still in binary, a hard-to-read format. Let us now make it user-friendly by displaying the numbers in base 10.
Display
Given that we have binary information, we will need to translate it into decimal format. As we only use a couple of digits (10: 01,2,3,4,5,6,7,8,9), then we can place a succession of AND and NOT gates to turn on light bulbs representing different numbers by physically printing the numbers next to the lightbulbs. But we can do better.
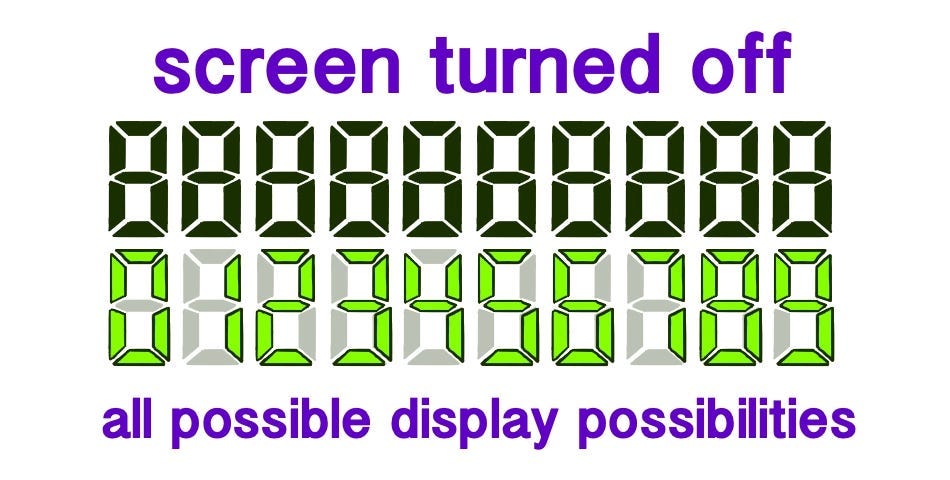
To create digits, we can represent a single digit with a set of 7 lines (see below). Every number will have a predefined design, such that the same number will activate the same line, regardless. Additionally, we will only ever display the data in the accumulator, simplifying where we need to read from.
Let’s funnel each bit to a large AND gate, with one input for each bit. Such a gate is easily constructible by using the output of an AND gate as the input into another AND gate that accepts a third parameter. Because we know which line should be flashed on depending on what number is in the cache, we can know which digit is represented by using AND and NOT gates. For example, if we represented nine digits in 5 bits (2⁴=8, 2⁵=16), and we would like for the top light to flash on for the number 7, then we need to create a circuit that identifies the number 7 first.
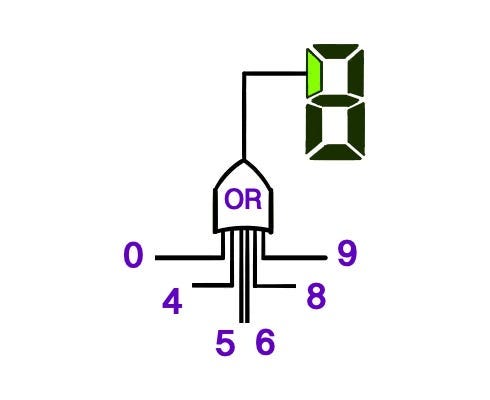
For each bit in the cache line, and for each digit being displayed, we append a NOT gate at every wire, which is supposed to be “0” for the given number, while letting those latches that should be “1” s pass unimpeded. All of these wires are then brought together into the large AND gate. This (7) AND with fan-in 5 returns a “1” if the given number is the number desired. We do this for all possible digits.
From here on out, it’s easy. Given that every digit has a predesigned structure, we can place a large OR gate for each line in the display that accepts inputs from only those numbers that use this line. This way, whenever a number has been activated, it channels current to those lines that need illuminating to represent that number. Et voilà.
Clearly, the display depends on the length of the input: With two digits, a display mechanism needs to be managed by multiplexers which modulates where the display needs to read from (SR-latches will also be required, to not erase previously displayed data). Once all the details have been hammered out, the bits representing the numbers are changed into digits that are displayed by lines. Fantastic!
Unfortunately, the lines we need to turn on need to use very little power, as we have little of it in our battery. An incandescent lightbulb uses up too much, and even neon tubes do as well. To solve the display challenge, we can employ a clever technology known as a liquid crystal display (LCD), which uses properties of light to either block or not block light from passing through the display. This technology has very little power usage, which is ideal for our use.
Display: Visual Appearance
We already know that crystals have repeating structures, hence why they are also solids. Yet, a liquid crystal is a material with “partial organization”, so that only parts of the material are repeating and others move around freely. Now, liquid crystals have a property known as anisotropy, i.e., they are anisotropic, which allows their surfaces to have different properties depending on which direction surface you choose.
This is relevant because when we pass current through the liquid crystals, we change their orientation. When current passes through them, the crystals magnetize, i.e., act as a magnet themselves. Due to the nature of magnets, these dipoles align themselves into a structured repeating pattern such that the liquid crystal acts as one big crystal instead of many smaller ones. Turning off the current lets them fall back into random positions.
The key to all of this is the albedo, i.e., the surface reflection of the crystal from different angles. When the crystals are random, they emit some amount of light. But if they are aligned, their albedo shoots down because of anisotropy, such that the liquid can block some percentage of the light going through. Because of the nature of light, this amount is almost exactly 50% because the crystals only block light from a specific direction. Any material that blocks the light of a specific direction is known as a polariser.
If we add another polarizing layer that now only absorbs light that is perpendicular to this first polariser (i.e., “right-left” instead of “up-down”), we can, in effect, absorb all light from going into a given surface whenever a current arrives. This is exactly what happens in the display of a calculator. Instead of representing numbers with light, numbers are represented with the absence of light, hence why LCD screens for calculators are “white” when off and display numbers in black.
The manufacturing of such a display also uses photolithography, albeit using different processes than those photolithographic chemicals than MOSFETs.
Piecing all these things together, an extremely basic calculator is more or less complete. While quite simple, it took a long time before it took you and me to fully understand how a calculator actually works.
This doesn’t mean that calculators had to emerge in the 1960s and 70s, as opposed to the 18th century. The first modern calculator was, in fact, built in the 17th century. At the time, it was a one-of-a-kind mechanical device that people marveled at. After that, there were a few more designs, although none of them ever took off, particularly one very special “calculator” we will cover in post 35.
We take calculators for granted today, even calling them old-fashioned. But there is no doubt that they have had, and continue to have, a significant impact on how we manage numbers. Today, most computations are done in Excel sheets, which use the digital adders, subtractors, etc., of the ALU in the CPU. After all, we can easily write out any algorithm or computation in a programming language or program of our choice and let virtually any modern-day computer run it.
But computers are so much more than just this process. It is very close to what a CPU does, although the CPU can also do so, so much more.